AO3 Goodies
An ongoing a dump of my favorite AO3 tools, skins & tutorials.
AO3 SKINS
Juno Skin for AO3

Juno is a dark theme that's easy on the eyes and focuses on readability.


Dark theme, easy on the eyes
Larger fonts for improved readability on mobile
Focus on minimal design
Auto-resizes images to fit screen
Uniform button styling on mobile
Fixes issues with drop-downs going off-screen on mobile
How to add this skin
AO3 no longer permits public user skins, but you can manually add the skin's code to "My Site Skins".
Note: browser extensions and plugins that alter AO3's appearance may not be compatible.
Highlight and copy the entirety of the code below. (It's long, sorry.)
Login to AO3, and visit Dashboard > Skins > My Site Skins.
Click the 'Create a Skin' button.
Ensure 'Site Skin' is selected from the dropdown. Give your skin a unique name.
Paste the code below into the "CSS" text field, and click the 'Submit' button.
You'll now see your new skin under "My Skins". Click the 'Use' button to apply.
Here's the Code:
Click the button below,
...then copy ALL of the code on the page.
(This might be tricky on mobile, sorry.)
Current version: 2025.10.31.0 | Updated October 31, 2025
Updating to the latest version?
Unfortunately, the code doesn't update itself. You'll have to copy the updated code, and paste it into your account manually. But it's easy to do!
Copy the code located within the link above.
Login to AO3, and visit Dashboard > Skins > My Site Skins.
Click the 'Edit' button beside the custom skin you previously created.
Delete all of the existing text in the "CSS" text field, paste the new code in there, then click the 'Submit' button.
Change Log
Revision 2025.10.31.0
Fixed the styling of the "Mark for Later" button.
Revision 2022.06.15.0
No changes, just moved code to a different host.
Revision 2021.05.14.0
Fixed color of kudos warning.
Fixed moving buttons issue present on some devices.
Revision 2021.02.21.0
Blocked that one fic with hundreds of tags that's crashing everyone's browsers.
Revision 2020.12.26.0
Added subtle highlighting on relationship tags within lists of works.
Expanded width of Summaries that appear within lists of works in Collections.
Desaturated the yellow cream color.
Revision 2020.12.19.0
Fixed the appearance if header images in collections.
Revision 2020.11.19.0
Reduced horizontal margins beginning and end notes within works for easier reading.
Improved sizing of heading tags (h1, h2, etc) within works.
Revision 2020.09.24.0
Changed background color of draft previews.
Revision 2020.09.19.0
Removed highlighting of previously-visited tag links.
Revision 2020.09.07.a
Ensures consistent display of larger font sizes.
Revision 2020.09.06.a
Fixes issue with Inbox checkboxes not appearing or working.
Fixes text color on yellow warning boxes.
Fixes bookmark text alignment.
AO3 Formatting
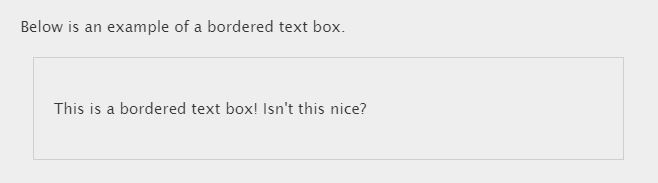
Easy, Bordered Text Boxes for AO3
Bordered text boxes are a great way to feature items like news articles or special sections in your works. With a bit of code, you can create text boxes that look like post-its, notebook paper, recipe cards, etc.The challenge, however, is that even it appears nicely on your screen, it may not appear correctly for those using skins or screen readers. The solution is to use simple formatting that does not rely on changes in text or background color.
How to do it? First, create a "Work Skin"
In AO3, visit your Dashboard > Skins > My Work Skins > Create a Work Skin
Give your skin a title (i.e. MySpecialWorkSkin)
Copy-and-paste the code below into the "CSS" field.
Click "Submit" at the bottom of the screen.
Next, put that Work Skin to work!
Visit your Edit Work page.
From the "Select Work Skin" dropdown, choose the name of the custom Work Skin you just created.
Above your body text, ensure you're working in "HTML" mode, rather than "Rich Text" mode.
Lastly, simply wrap the text you'd like to place in a text box with the following code:
<div class="specialbox"> YOUR TEXT GOES HERE </div>
That's it! Here's how it looks on various skins:


— — — — — — — —
Even if you use the code above, I still recommend that you mark the beginning and end of any special sections with a few symbols or dashes. That way, users with plugins that strip formatting will still be able to recognize that the section is "special". (Similar to what you see above and below this paragraph).
— — — — — — — —
AO3 Writing Tools
Easy Em Dashes (—) for Windows
Em dashes (—) are a great way to feature a "pregnant pause", but they're not a default element of most PC keyboards. As a shortcut, you can type Alt + 0150, but this is cumbersome and requires spare brainpower I don't possess.In this tutorial, I'll show you how to install a script that will automatically replace two dashes (--) with an em dash (—). Once installed, it'll work with any program on your computer, including web browsers and Google Docs.

Install the Script (Windows)
Download AutoHotKey from this site: autohotkey.com
Install the program.
Download the EmDashScript.ahk script file from my Google Drive. Save it to your Desktop. (Note, some antivirus programs may flag this as suspicious. It is not.)
Select the file, right-click, and choose "Copy".
Right-click the Windows Start Button, and choose "Run".
Type the following text into the field, then press Enter: shell:startup
Paste the script file into the folder that appears by pressing Ctrl + V on your keyboard.
Restart your computer.
That's it! Now when you type 2 dashes, it'll automatically switch to an em dash.
Twitter Tips for Creators
How to Use Red Block on Twitter
(Chrome Desktop Browser Version)

Red Block is an extension for Google Chrome that lets you block visible users in bulk.
You can also 'skip' mutuals or followers.With Red Block, you can:
Block or mute all of a user's followers or followings.
Block or mute people who liked or retweeted a post. §
Block or softblock protected followers from your account.
Import/export block lists. (Blocking only works on public accounts that haven't blocked you first. But, if you have an alt account, you can use Red Block to export a list of a user's followers, and then import that list as a "blocklist" into your main account.)
§ Note: You'll only be able to block interactions you can see. And unfortunately, in early 2021, Twitter changed it's app so that we can only see a limited number of likes or retweets on a single post—meaning we can no longer block everyone who interacted with a post using Red Block.
⚠️⚠️⚠️CRITICAL WARNINGS ⚠️⚠️⚠️
DO NOT SKIP
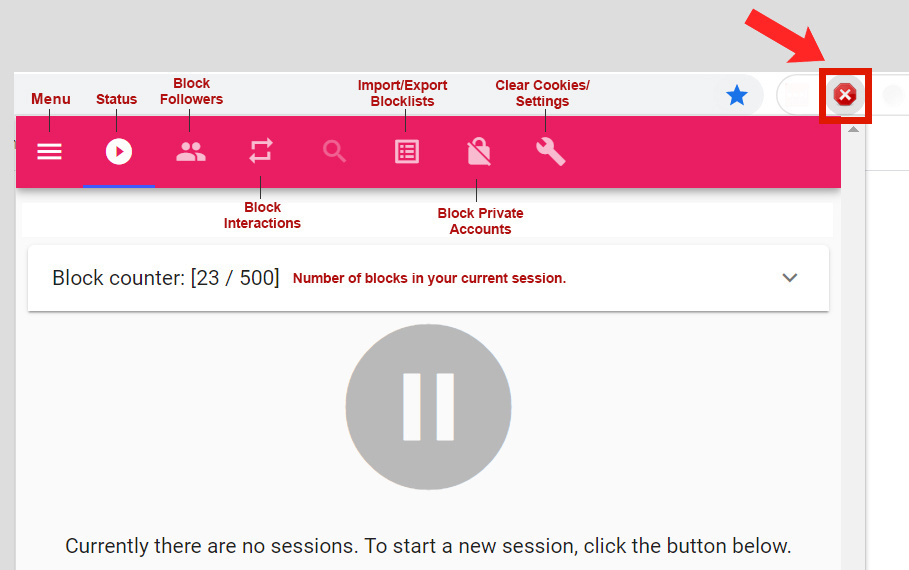
You can only block 500 users per session before Twitter will lock you out of your account. You'll know when this occurs because the timeline won't appear for you, or you'll receive an error during blocking.
When you get locked out, you'll need to do three things to continue: (1) clear your browser's cookies using the 'wrench' icon on Red Block, (2) log back into twitter from the twitter.com home page, and (3) reset Red Block's built-in "Block Counter".
You might also be asked to verify your account via text message or CAPTCHA. Do not use on unverified accounts.
Use at your own risk! I'm not responsible for any results.
Let's get started!
Install Chrome and the Red Block Extension
We'll be using the Google Chrome browser (desktop version). There's a mobile version for Android, but this tutorial will cover the desktop browser version.
Install the Red Block extension.
Restart Chrome.
Select A Block Mode:
Time to start blocking! Visit a twitter profile (if you want to block followers), or visit a specific tweet if you want to block users who reacted.
Click the red "X" icon in the upper-right corner of your browser to select a block mode:
Select a block mode: Block by Followers, Tweet Reactions, or Import a List (less common).
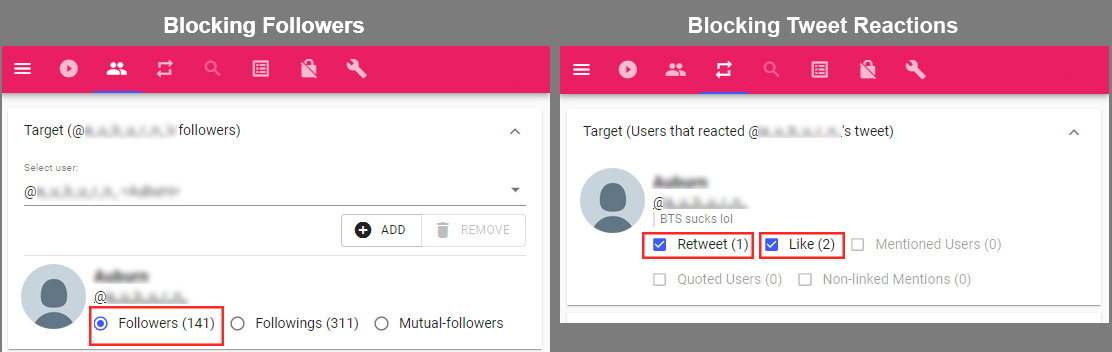
Next, Select Your Targets:
Your targeting options will be slightly different, depending on which mode you choose. But pay careful attention when blocking followers to ensure you're not accidently blocking follow-INGS.
When blocking tweet reactions, selecting Likes and Retweets is typically enough.
Next, Scroll Down to Decide What to Do With Them:
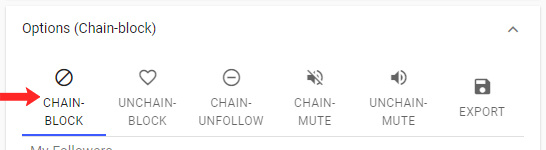
There's six (6) chainblocking options to choose from, but chainblock is the most commonly used one.
Chainblock: Blocks users from your account.
Unchain-Block: Unblocks all users.
Chain-Unfollow: Unfollows all users.
Chain-Mute: Mutes all users.
Unchain-Mute: Unmutes all users.
Export: Exports a list of users that can be used by Red Block at a later time.
Next, select how you want Red Block to handle users that may be your followers or mutuals:

Once you've selected all of your options, click the Run Chain-Block button to start to the process.
Keep an eye on that "Block Counter." Once you hit 500, Twitter will lock your account, and you'll need to follow the steps in the "Critical Warnings" section above to unlock and continue.
Twitter Tips for Creators
Get Notified When Your AO3 Fics is Mentioned on Twitter
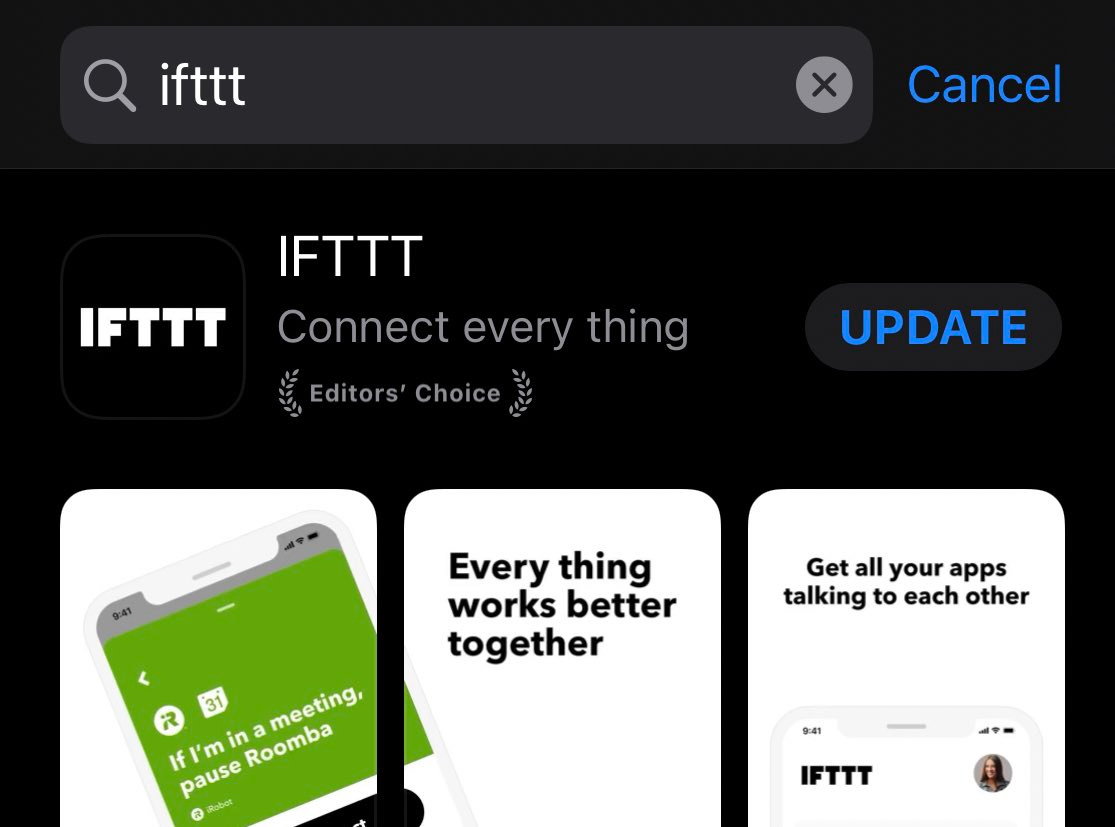
Do you enjoy pain? Want to get notified when someone tweets a link to your AO3 work?Install the free IFTTT app (If This, Then That). You can set the app to regularly search twitter for your fic URLs, and notify you whenever it finds a new post.**Full guide below ⤵️ **
First, install the Free IFTTT app: https://ifttt.com/
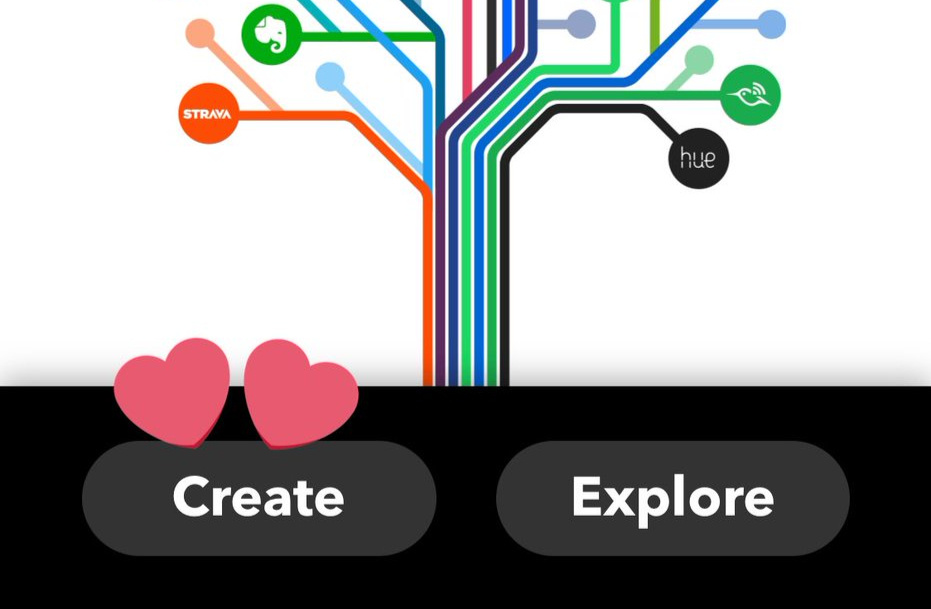
Next click Create to make a new “applet”. The free version lets you create up to 3 applets, so if you like, you can create one for each fic. But if you’re a cheap-ass like me, you can create a single applet that scans for multiple fics. (Note: each applet will only search for a maximum of 10 fics.) I’ll show you both ways.
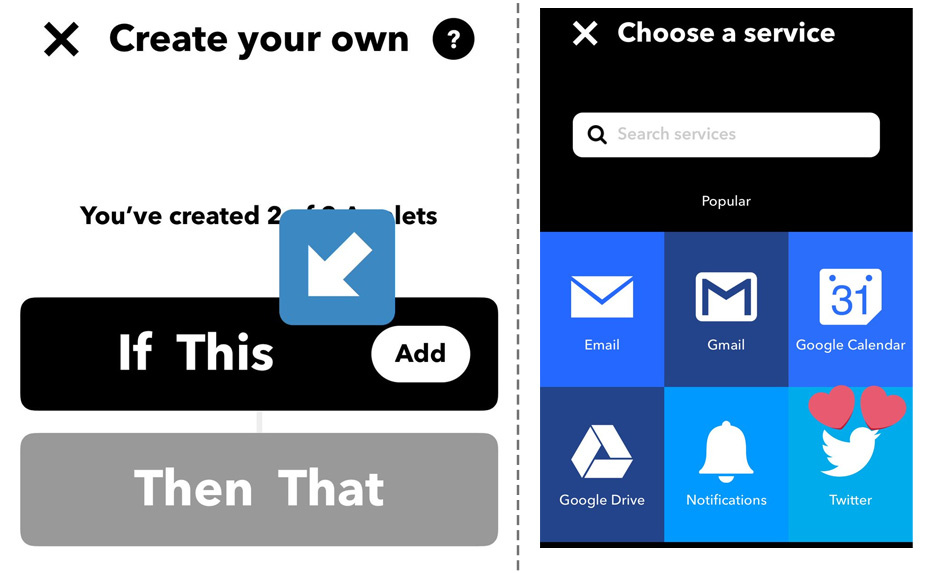
Next, we’re gonna create a trigger. Click “If This” and search for “Twitter”. Select the blue Twitter icon.
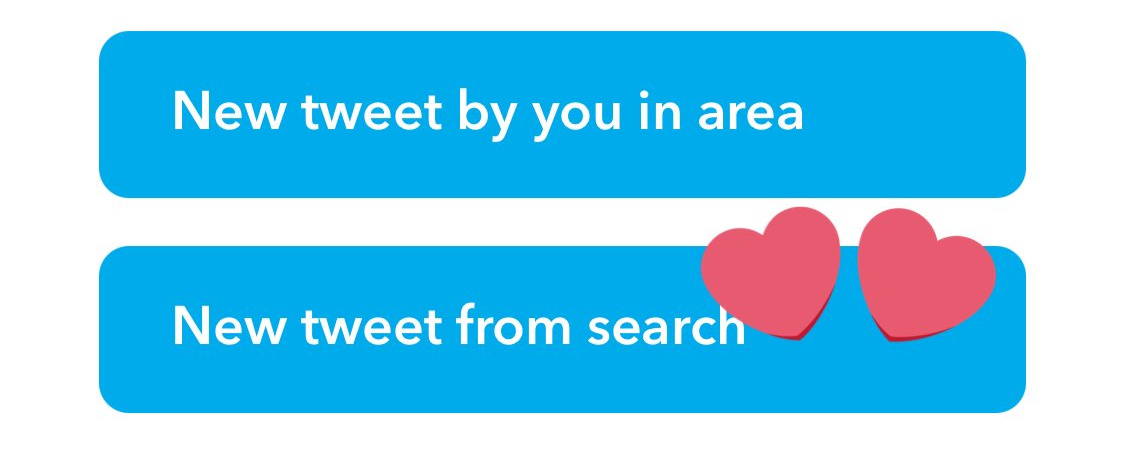
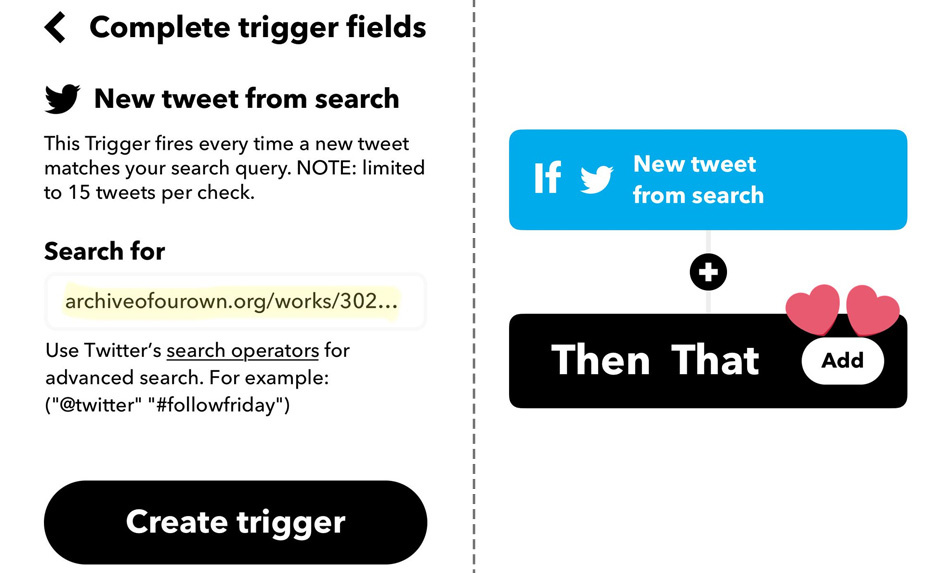
Next, choose a Trigger type. Choose “New tweet from search”.
Next, we’ll tell the app what to search for. This is where you’ll decide if you want to search for a single fic URL, or multiple URLs.
⚠️Note: No matter which method you choose, be sure you NEVER include https:// or a slash at the end of your URLs.
✅ Here’s a single URL example:
archiveofourown.org/works/27586973
❌ Do not include https:// or slashes at the end:
❌https://archiveofourown.org/works/27586973/
✅ Here’s a multiple URL example:
(archiveofourown.org/works/27586973 OR archiveofourown.org/works/33940855)
Type OR between each url, and
Wrap the whole thing in parentheses. (see example)
⚠️THE OR MUST BE IN CAPS.
Remember, you're limited to 10 URLs in a single string.
If you go with multiple URLs, I recommend typing it out in Notepad first, cause the space in-app is tiny.
After you’ve inserted the URL(s), tap “Create Trigger”.
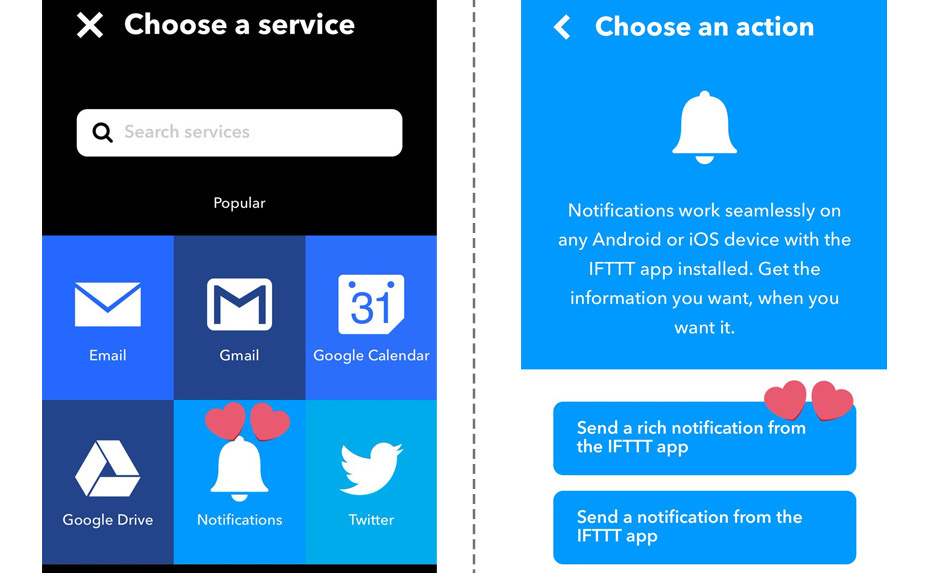
Next, tap “Then That” to tell the app what happens when your trigger is activated:
Tap “Notifications” from the Choose a Service screen.
Then, choose “Send a rich notification from the IFTTT app”.
Next, we’ll choose what we want our Notifications to look like. I typically only edit the Title, and leave the rest as-is.
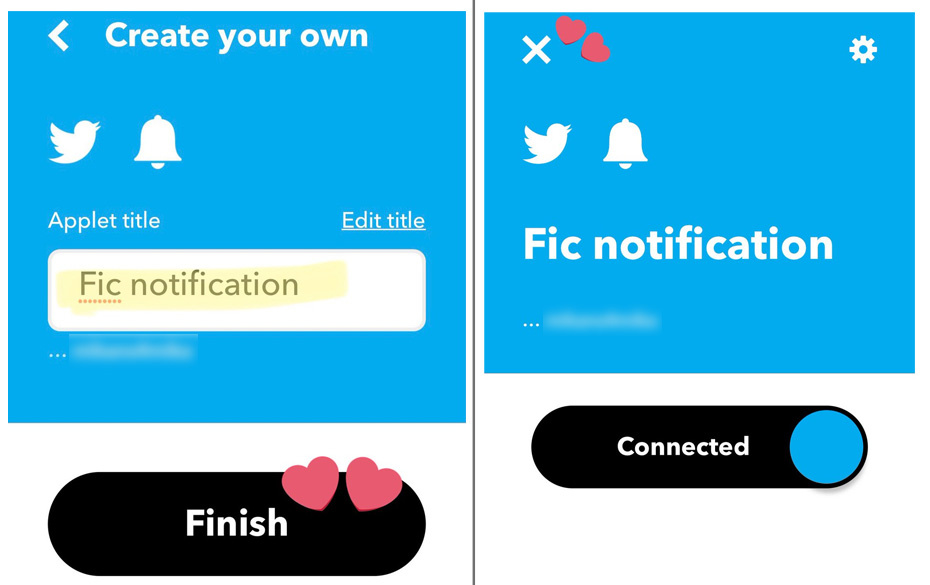
Next, press “Create Action”, and then “Continue” on the screen that follows.

Next, let’s give the applet we just created a title.
This just differentiates it from other triggers (applets) you might create in the future.
Then click the big X on the screen that follows to exit.
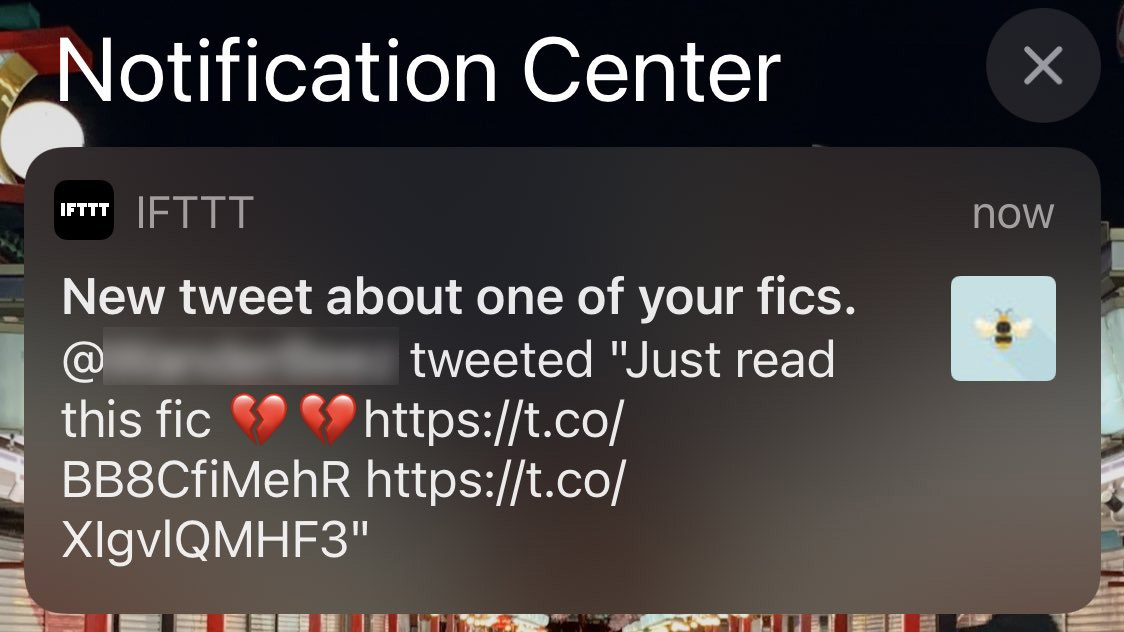
That’s it! Whenever someone tweets your fic URL going forward, you’ll get a phone notification. It’ll run approximately every 30 minutes.
You can also use this to search for fic titles, but only IF the name of your fic is extremely unique.
Enjoy! 💜
Please do not republish without permission. Use tutorials at your own risk. Thank you!